Did you decide to purchase NordVPN? Do you wonder: How Do I Stop NordVPN From Starting Up On My Mac?
In this article we will show you step by step how to make a purchase of new NordVPN subscription, set up account and start using NordVPN software! After guide we will answer some questions regarding using an VPN app.
Table of Contents
Here is how to purchase a NordVPN subscription
- Start by visiting NordVPN website, you can click here.
- Click on pricing tab at the top of the page, here you can see current plans, pricing and deals. Choose which NordVPN plan you prefer to purchase and then click “Get *name of the plan* button.
You can choose between standard plan (pure NordVPN service) or other plans that comes with NordPass or NordLocker services.
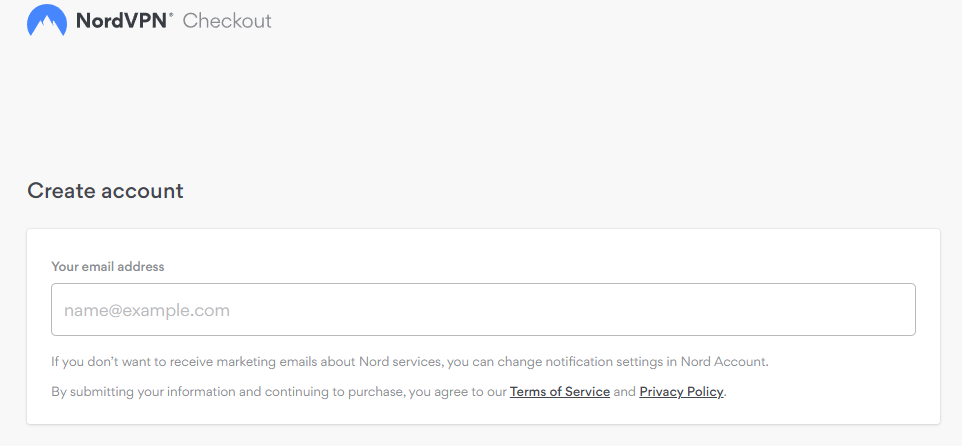
- Now you have to type your email adress that you will be using NordVPN with.
- Now you have to choose payment method which you want to use, and proceed with it.
- Well done! If you followed this guide nicely you purchased NordVPN subscription! Look at your email inbox, here you will find purchase confirmation email.
Now download NordVPN APP and start using it
After purchasing your VPN plan, head to this page to download the NordVPN app
Now you can click start and enjoy using VPN!
Click here to get the Best NordVPN Deal! 🔥Let’s get back to main question, How Do I Stop NordVPN From Starting Up On My Mac?
Go to System Preferences > Network.
Select your VPN connection from the left panel.
Click Disconnect.
And that’s it! Your VPN connection will be disabled and you can go about your business without it.
Worth knowing
Worth knowing
Cisco AnyConnect is a virtual private network (VPN) client that works on a wide variety of operating systems and hardware configurations. In order to use AnyConnect on your Mac, you will need to download the installer from the Cisco website and then follow the installation instructions.
Once you have downloaded the installer, double-click on it to begin the installation process. When the Welcome window displays, click on the Continue button. You will then be asked to select your hard drive as the destination for the installation. Once you have selected the destination, click on the Continue button again.
The installation process will take a few minutes to complete. Once it is finished, you will be able to launch the AnyConnect client from your Applications folder.
Worth knowing
