Did you decide to purchase NordVPN? Do you wonder: How To Rdp External While NordVPN Enabled?
In this article we will show you step by step how to make a purchase of new NordVPN subscription, set up account and start using NordVPN software! After guide we will answer some questions regarding using an VPN app.
Table of Contents
Here is how to purchase a NordVPN subscription
- Start by visiting NordVPN website, you can click here.
- Click on pricing tab at the top of the page, here you can see current plans, pricing and deals. Choose which NordVPN plan you prefer to purchase and then click “Get *name of the plan* button.
Click here to get -65% NordVPN Deal!
You can choose between standard plan (pure NordVPN service) or other plans that comes with NordPass or NordLocker services.
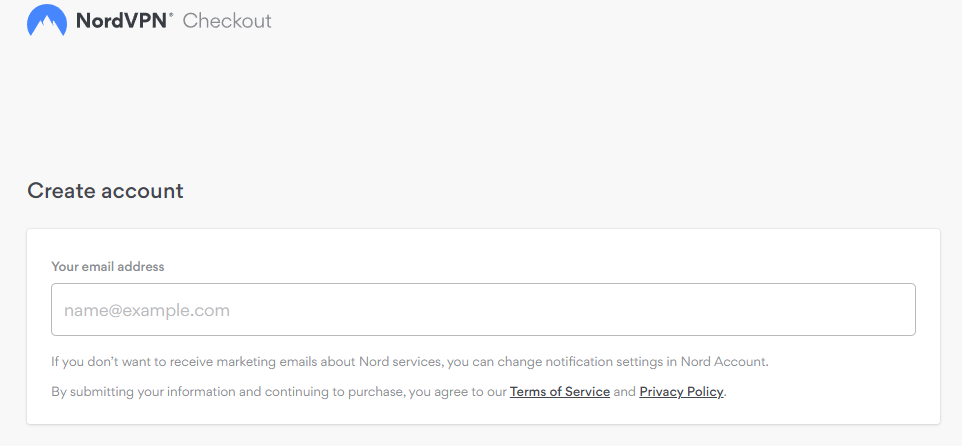
- Now you have to type your email adress that you will be using NordVPN with.
- Now you have to choose payment method which you want to use, and proceed with it.
- Well done! If you followed this guide nicely you purchased NordVPN subscription! Look at your email inbox, here you will find purchase confirmation email.
Now download NordVPN APP and start using it
After purchasing your VPN plan, head to this page to download the NordVPN app
Now you can click start and enjoy using VPN!
Click here to get -65% NordVPN Deal!
Let’s get back to answering your questions:
Another way to check is on your computer. If you’re using a PC, you can check under your WiFi settings to see if there is a VPN or proxy showing up. If you’re using a Mac, you can check the top status bar.
Keep in mind that if you’re not sure whether or not you have a VPN enabled, you can always contact your IT department or the provider of your VPN.
Worth knowing
Worth knowing
Worth knowing
