Did you decide to purchase NordVPN? Do you wonder: How To Setup NordVPN On Tp Link Router?
In this article we will show you step by step how to make a purchase of new NordVPN subscription, set up account and start using NordVPN software! After guide we will answer some questions regarding using an VPN app.
Table of Contents
Here is how to purchase a NordVPN subscription
- Start by visiting NordVPN website, you can click here.
- Click on pricing tab at the top of the page, here you can see current plans, pricing and deals. Choose which NordVPN plan you prefer to purchase and then click “Get *name of the plan* button.
Click here to get -65% NordVPN Deal!
You can choose between standard plan (pure NordVPN service) or other plans that comes with NordPass or NordLocker services.
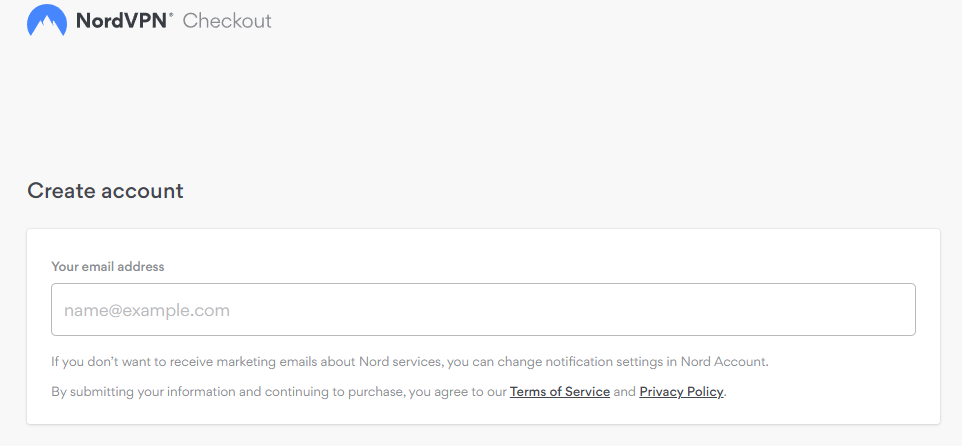
- Now you have to type your email adress that you will be using NordVPN with.
- Now you have to choose payment method which you want to use, and proceed with it.
- Well done! If you followed this guide nicely you purchased NordVPN subscription! Look at your email inbox, here you will find purchase confirmation email.
Now download NordVPN APP and start using it
After purchasing your VPN plan, head to this page to download the NordVPN app
Now you can click start and enjoy using VPN!
Click here to get -65% NordVPN Deal!
Let’s get back to answering your questions:
There are many different options for VPN servers out there, so it’s hard to give specific instructions for every possible scenario. In general though, the process involves installing and configuring the server software on a computer that will act as the VPN server. Once that’s done, you’ll need to create user accounts and assign them privileges within the server software. After everything is configured correctly, users should then be able to connect to the VPN by following instructions from their client software.
Worth knowing
1. Log into the web interface for your TP-Link router. This can be done by entering the IP address of your router into a web browser. The default IP address is usually 192.168.0.1 .
2. Once logged in, look for the “VPN” section of the interface and click on it.
3. Now, click on the “Enable VPN Server” option and then choose which protocol you’d like to use for your VPN connection - PPTP or L2TP/IPSec (we recommend using L2TP/IPSec).
4) Enter a name for your VPN connection and then set up the username and password that you’ll use to connect. Make sure these are strong and unique passwords that aren’t used anywhere else!
5) Finally, select the “Apply” button at the bottom of the page to save your changes and enable the VPN server feature on your TP-Link router!
Worth knowing
Choose L2TP from the drop-down menu for ‘Internet Connection Type’. You’ll then need to input the correct username and password. After this, you’ll need to enter the VPN server IP/domain name. Once all of this is entered correctly, click ‘Save’ and then ‘Connect’. Your router should now be successfully connected to the VPN server.
Worth knowing
![How to Buy NordVPN in Cuba [NordVPN Purchase Guide]](wp-content/themes/blogstream/img/thumb-medium.png)